
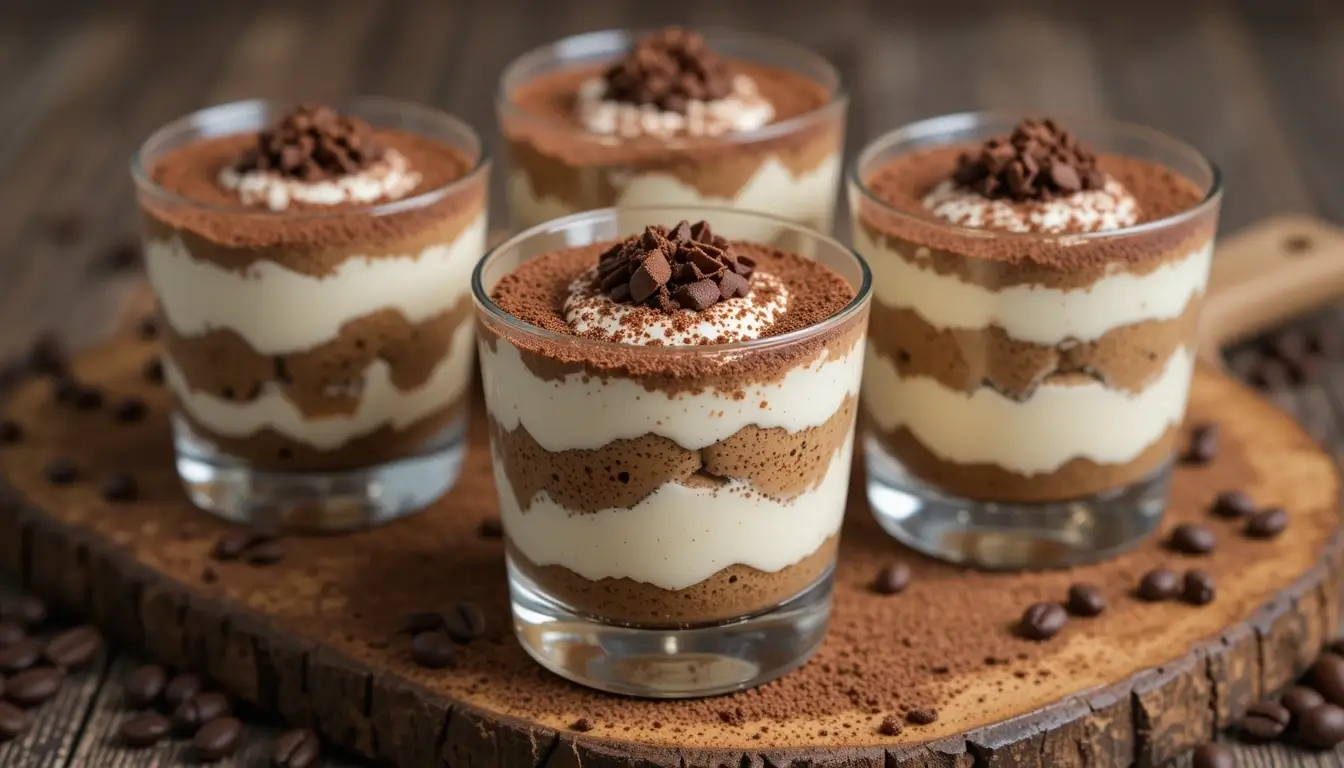
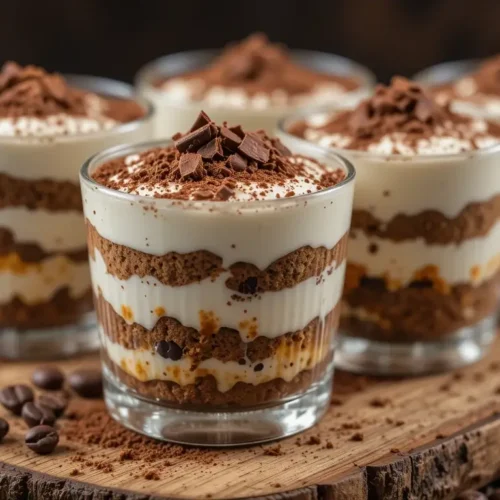
Tiramisu cups are delightfully creamy individual desserts layered with coffee-soaked biscuits and a velvety mascarpone mixture. They’re quick to assemble, using readily available ingredients you might already have in your kitchen. Best of all, these petite treats are perfect for impressing guests at any gathering—no tricky techniques required.
Ever find yourself craving a dessert that’s both refreshingly light yet decadently rich? If you’ve ever tried to make tiramisu at home, you might’ve wrestled with complicated steps or ended up with runny layers. This easy, step-by-step recipe for tiramisu cups is your ultimate shortcut to a no-fuss, foolproof treat.
In this article, we’ll guide you through the basic ingredients, share tips for a smooth assembly, and show you how to store these luscious cups so they’re always ready whenever your sweet tooth strikes.
Why You’ll Love Tiramisu Cups
At first glance, tiramisu can appear fancy—like something only a trained pastry chef could manage. However, tiramisu cups simplify the whole process by serving it in single portions, making assembly much easier. Here’s what makes this recipe shine:
- Minimal Effort, Major Flavor
- No baking required; you simply dip the biscuits, layer the filling, and chill.
- The hardest part? Waiting for them to set in the fridge (if you can resist them that long!).
- Perfectly Portioned
- Creating individual tiramisu cups means you don’t need to worry about slicing or messy plating.
- Each person gets their own neat, picture-perfect dessert.
- Great Make-Ahead Dessert
- Tiramisu typically tastes even better after a day in the fridge.
- Preparing them in cups allows easy stacking and storage without losing shape.
- Kid-Friendly and Alcohol-Free
- Traditional tiramisu often calls for a splash of liqueur, but this recipe uses coffee only—no alcohol required.
- Ideal for family gatherings where you want everyone to enjoy a sweet treat without concerns.
- Versatile for Any Occasion
- Feeling fancy? Garnish with chocolate curls or fresh berries.
- Need a last-minute potluck idea? Make mini tiramisu cups in disposable ramekins or plastic cups, and you’re set.
As you read on, you’ll discover more tricks for making these individual tiramisu cups truly your own. Next up, let’s dive into the ingredients and see how each component contributes to the dessert’s signature flavor.
Ingredients for Tiramisu Cups
When it comes to tiramisu cups recipe essentials, simplicity is key. Each ingredient has a clear role, coming together for that classic blend of creamy sweetness and subtle coffee flavor. Here’s what you’ll need, plus a few optional add-ins:
- Ladyfingers (Savoiardi Biscuits)
- The backbone of tiramisu; these crisp, sweet biscuits soak up coffee without turning soggy. You’ll need around 16–20 ladyfingers for six to eight cups.
- Pro Tip: If you can’t find ladyfingers, you can use sponge cake or vanilla wafers, but ladyfingers keep it authentic and hold texture better.
- Freshly Brewed Coffee
- Essential for infusing the biscuits with that bold flavor. Aim for about 1 cup of strong coffee, cooled to room temperature.
- Flavor Variation: Use decaf coffee for a caffeine-free version, or try a flavored coffee blend (like hazelnut) if you want to experiment.
- Mascarpone Cheese
- This rich, creamy cheese is key to giving tiramisu its signature silky texture. You’ll need about 8 ounces.
- Why It’s Important: Mascarpone sets more firmly than regular cream cheese, delivering a luxurious mouthfeel.
- Heavy Whipping Cream
- Helps lighten the mascarpone mixture and adds airiness. Plan on about 1 cup.
- Optional Twist: You can fold in a spoonful of cocoa powder for a chocolatey spin.
- Sugar
- Balances the bitterness of the coffee. Use around ¼ to ½ cup, depending on how sweet you like your dessert.
- Another Option: Swap regular sugar for confectioners’ sugar for an ultra-smooth consistency.
- Egg Yolks (Optional)
- Classic tiramisu often includes egg yolks, but this recipe omits raw eggs for simplicity. If you want a more traditional texture, you can whisk 2 pasteurized egg yolks with sugar until pale and creamy, then fold it into the mascarpone.
- Unsweetened Cocoa Powder
- Dust on top for a final flourish.
- Add-In Idea: Mix a little cinnamon or matcha powder with the cocoa to jazz it up.
- Vanilla Extract (Optional)
- Enhances the flavor of the mascarpone mixture with a subtle sweetness.
- A teaspoon is usually enough.
Pro Tip for Flavor Variations:
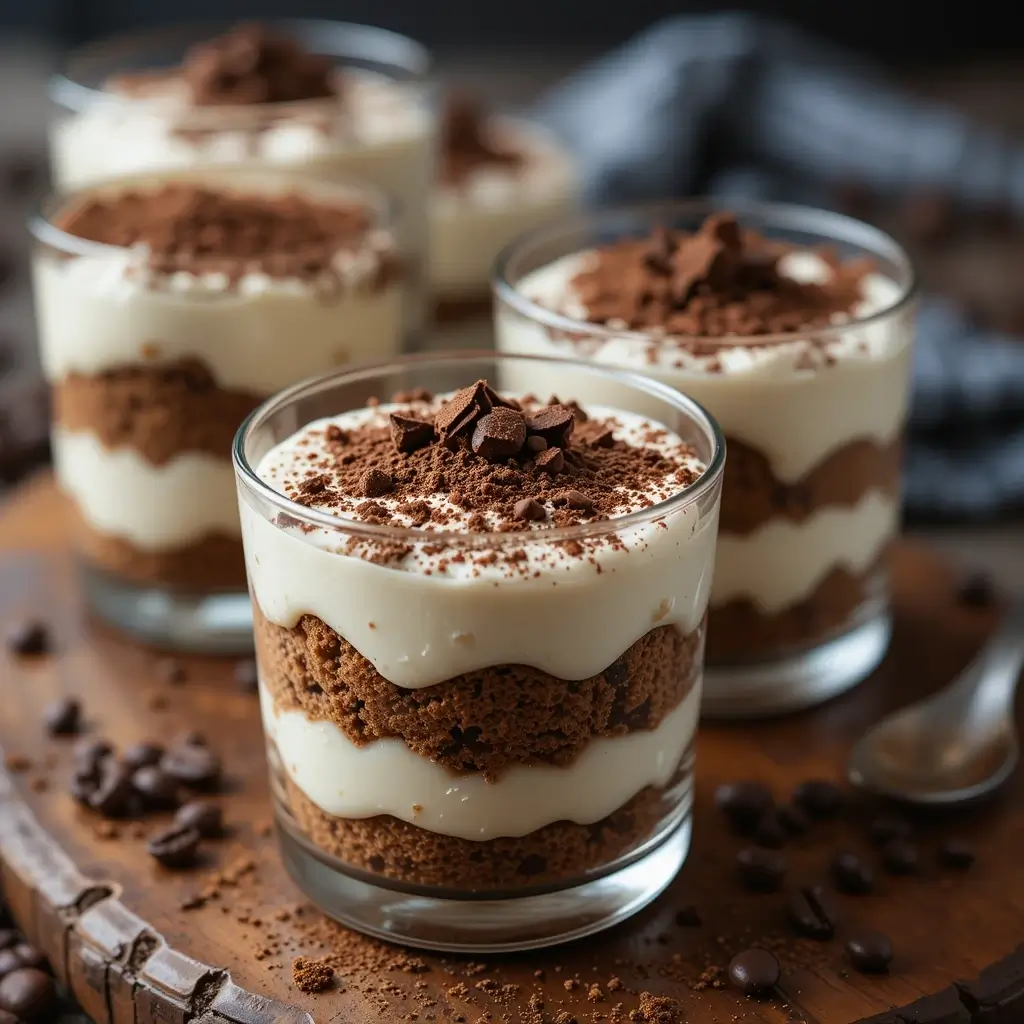
- Chocolate Lovers: Add grated chocolate between the layers.
- Berry Burst: Top with fresh raspberries, strawberries, or a mixed berry compote.
- Nutty Twist: Sprinkle chopped toasted almonds or hazelnuts on top for extra crunch.
Now that you have your lineup of ingredients, let’s move on to how to assemble these delicious cups. We’ll walk through each step so you can whip them up like a pro.
How to Make Tiramisu Cups
You might be surprised at how quickly these decadent tiramisu dessert cups come together. The method is straightforward and doesn’t require any special baking skills. Here’s your step-by-step guide:
- Prepare the Coffee Mixture
- Brew a cup of strong coffee and let it cool to room temperature.
- Transfer to a shallow bowl, so you can dip the ladyfingers without fully submerging them.
- Whip the Cream
- In a clean bowl, whisk heavy cream until it forms soft peaks.
- Set aside for later use.
- Tip: If you’re short on time, you can use an electric hand mixer or a stand mixer with the whisk attachment.
- Mix the Mascarpone Base
- In a separate bowl, add mascarpone cheese and sugar.
- Beat until smooth and lump-free.
- If you’re using vanilla extract or pasteurized egg yolks, fold them in gently at this stage.
- Combine Whipped Cream and Mascarpone
- Gently fold the whipped cream into the mascarpone mixture.
- Aim for a light, airy consistency—over-mixing will deflate the cream.
- Assemble Your Tiramisu Cups
- First Layer: Dip one ladyfinger at a time into the cooled coffee, turning it quickly (1-2 seconds per side). Place the soaked biscuits at the bottom of each cup.
- Second Layer: Spoon or pipe a layer of the mascarpone cream mixture on top.
- Repeat the layers (biscuits followed by cream) if your cups are tall enough.
- Smooth out the top layer for a neat finish.
- Chill to Set
- Cover the cups with plastic wrap or place a lid on each cup if they come with one.
- Refrigerate for at least 2 hours, though overnight is ideal for the flavors to meld.
- Final Touch
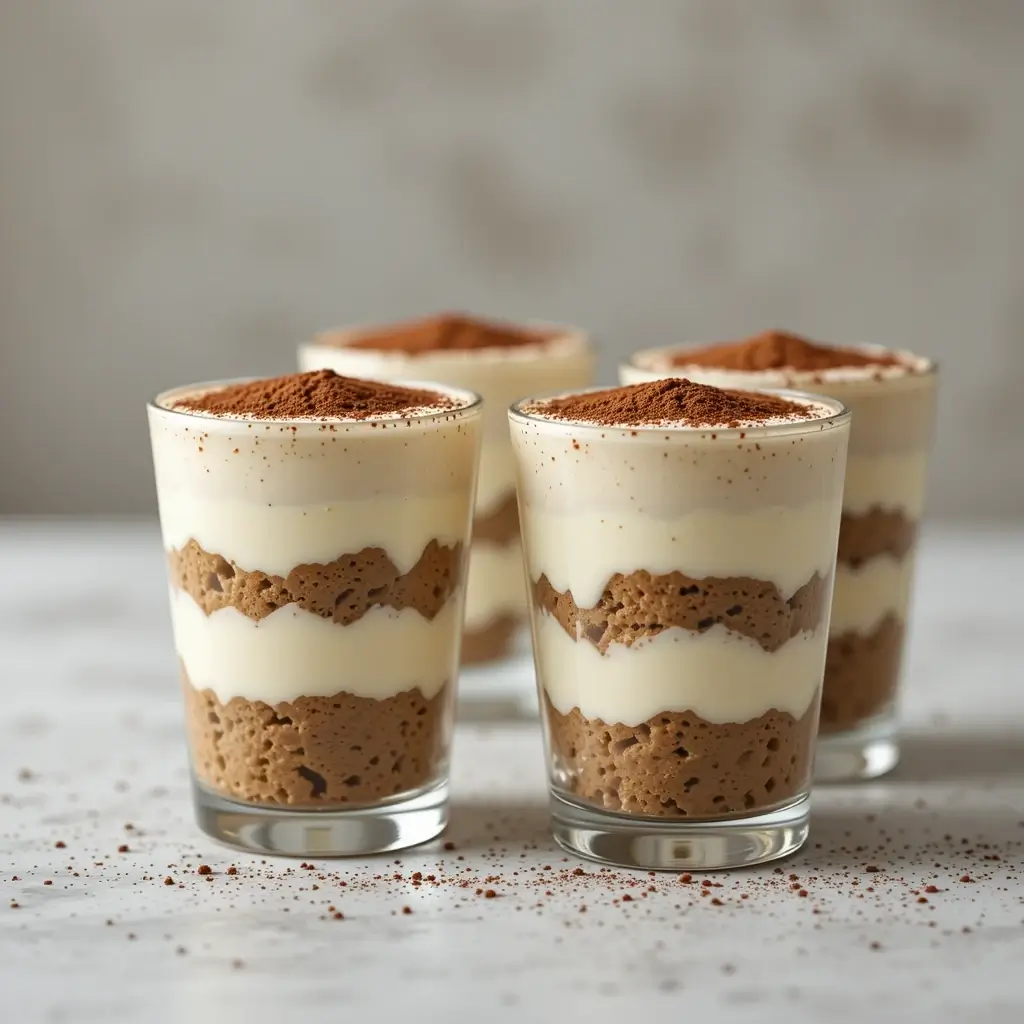
- Right before serving, dust cocoa powder over the top.
- Add any optional garnishes—like fresh berries, chocolate shavings, or a drizzle of caramel sauce.
With those steps, your tiramisu cup recipe is practically complete. Next, we’ll explore some creative ways to adapt the recipe, plus chef-approved tricks that will make your dessert even more impressive.
Chef Tips and Variations for Tiramisu Cups
This dessert is famous for its creamy texture and subtle coffee flavor. Yet, there’s plenty of room to tweak it without losing its essence. Here are some expert strategies and variations to suit any palate:
- Choose the Right Cup
- Clear glass cups or small jars let you show off those beautiful layers.
- If you’re making mini tiramisu cups for a party, consider using disposable plastic dessert cups for a fuss-free cleanup.
- Experiment with Different Biscuit Replacements
- Ladyfingers are the classic choice, but shortbread cookies or even store-bought pound cake can work.
- Ensure whichever base you choose can hold up to light dipping in coffee without disintegrating.
- Customize Your Sweetness
- Taste your mascarpone-cream mixture as you go. Since coffee can be slightly bitter, sweeten to your preference.
- If you like a sweeter dessert, add a bit more sugar or even a touch of maple syrup.
- Amp Up the Coffee Flavor
- Use instant espresso powder to boost coffee intensity. Mix a teaspoon of espresso powder into the mascarpone base for an extra jolt of flavor.
- For a deeper roast taste, brew dark-roast coffee or use a chicory blend.
- Kid-Friendly Coffee Options
- If you’re concerned about caffeine, choose decaf coffee or a coffee substitute like chicory root beverage.
- Keep in mind that the coffee flavor is subtle if you dip the biscuits quickly.
- No-Egg Variation
- This recipe already omits raw eggs for convenience, but if you want that classic custard-like feel, use pasteurized egg yolks. They’re readily available in many supermarkets, ensuring food safety.
- Seasonal Twists
- Holiday Spice: Add a pinch of cinnamon or nutmeg to your coffee dip.
- Summer Freshness: Layer in thinly sliced strawberries or peaches for a fruity lift.
By following these tips, you’ll elevate your tiramisu cups recipe to the next level. Each little tweak can bring new life to this timeless treat. Ready to serve them up? Let’s move on to how best to present your dessert.
Serving Suggestions for Tiramisu Cups
Sometimes all it takes to make dessert feel extra special is a simple garnish or a thoughtful presentation. Tiramisu dessert cups already look elegant, but here are a few ways to make them stand out even more:
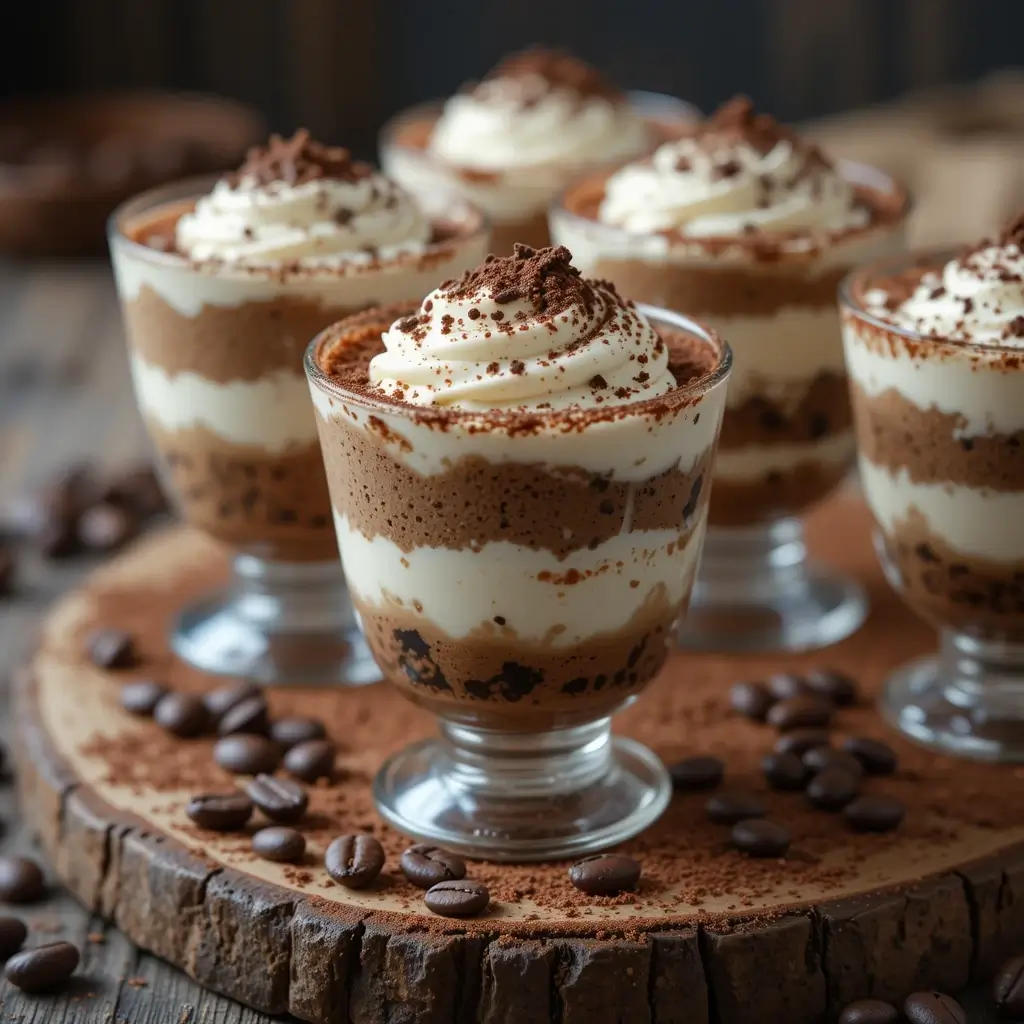
- Top with Whipped Cream Swirls
- Pipe a swirl of whipped cream on top before dusting with cocoa.
- This adds a bakery-style finish and an extra creamy note.
- Add Some Crunch
- Crushed biscotti, chocolate chips, or chopped nuts can bring a satisfying texture contrast.
- Sprinkle them on top just before serving to keep them crunchy.
- Fruit Accents
- Fresh berries (like raspberries or sliced strawberries) can brighten up the plate and complement the rich coffee flavor.
- A tiny mint leaf also adds a pop of color and a refreshing aroma.
- Chocolate Drizzle
- Melt a small amount of chocolate chips with a splash of milk, then drizzle over the top.
- The drizzle can also be done with caramel or strawberry sauce for a tasty twist.
- Plating Tips
- Place each cup on a small dessert saucer, maybe with a contrasting paper doily.
- A simple dusting of powdered sugar around the saucer can give the whole setup a professional flair.
Whether you’re aiming for a casual family supper or planning for a celebratory feast, these individual tiramisu cups make any meal feel a bit more special. After you’ve served them, you might be wondering how to store any leftovers—or if there will be any leftovers at all! Let’s talk about that next.
Storing and Reheating Leftovers for Tiramisu Cups
If you’re lucky enough to have leftovers, you’ll want to keep these creamy delights fresh and safe to eat. According to the U.S. Department of Agriculture (USDA), dairy-based desserts should be refrigerated promptly to maintain quality and food safety. Here’s what you need to know:
- Refrigeration
- Cover each cup with plastic wrap or an airtight lid.
- Store in the fridge for up to 3 days. Beyond that, the texture may start to deteriorate, and safety could be compromised.
- Freezing
- Although tiramisu traditionally is best fresh, you can freeze it if you’d like to extend its life.
- Wrap each cup in plastic wrap and foil to prevent freezer burn.
- Thaw in the refrigerator overnight. The texture might be slightly different but still enjoyable.
- Reheating Considerations
- Tiramisu is served cold, so there’s no need to “reheat” in the usual sense.
- If the cream has firmed up too much, let it sit at room temperature for 10–15 minutes before serving.
- Quality Check
- If you notice any off smell or discoloration, it’s best to discard.
- Always err on the side of caution with any dessert containing dairy or eggs.
With these storage tips, your tiramisu cup will stay fresh and tempting for as long as possible. Now let’s wrap up the main points in a quick bullet list before we dive into some of your most pressing questions.
More Delicious Desserts to Try
If you loved these tiramisu cups, you might also enjoy these other creative dessert recipes:
- Pistachio Tiramisu – A nutty twist on the classic Italian dessert.
- Tiramisu Brownies – A fudgy, coffee-infused treat with a mascarpone topping.
- Limoncello Tiramisu – A refreshing citrusy take on tiramisu.
- Tiramisu Latte – A creamy, coffee-based drink inspired by tiramisu flavors.
- Matcha Tiramisu – A unique Japanese-inspired dessert with earthy matcha tones.
- Cotton Candy Ice Cream – A fun, colorful, and nostalgic frozen treat.
These desserts bring fresh flavors and exciting variations to your sweet indulgences. Try them out and discover your next favorite!
Tiramisu Cups
Equipment
- Medium mixing bowls (2)
- Whisk (hand whisk or electric mixer)
- Shallow bowl for dipping biscuits
- Measuring cups and spoons
- Individual cups, small jars, or dessert glasses
- Plastic wrap or cup lids
Ingredients
- 16 –20 ladyfingers Savoiardi
- 1 cup strong brewed coffee cooled
- 8 oz mascarpone cheese
- 1 cup heavy whipping cream
- ¼ –½ cup sugar to taste
- 1 tsp vanilla extract optional
- Unsweetened cocoa powder for dusting
Optional: fresh berries, chocolate shavings, or crushed nuts for garnish
Instructions
- Brew & Cool Coffee: Make about 1 cup of strong coffee and allow it to cool to room temperature.
- Whip the Cream: In a bowl, whisk the heavy cream until soft peaks form.
- Mix Mascarpone Base: In a separate bowl, beat the mascarpone and sugar until smooth. Stir in vanilla if using.
- Combine Cream & Mascarpone: Gently fold the whipped cream into the mascarpone mixture until well incorporated.
- Dip & Layer: Dip each ladyfinger briefly in the coffee and place it at the bottom of the cup. Add a layer of mascarpone cream. Repeat for a second layer if there’s room.
- Chill: Cover and refrigerate for at least 2 hours (or overnight).
- Dust & Serve: Top with a dusting of cocoa powder and any additional garnishes right before serving.
Notes
Key Takeaways
- Easy Assembly: No elaborate baking or complex techniques required.
- Make-Ahead Friendly: Preparing these cups a day in advance enhances their flavor.
- Customizable Base: Ladyfingers are classic, but you can experiment with other biscuits or cake slices.
- Alcohol-Free & Kid-Safe: Eliminates concerns about raw eggs and liqueurs.
- Versatile Garnishes: From berries to chocolate drizzles, you can style each cup to match any occasion.
Next, let’s tackle a few frequently asked questions to ensure you’re fully prepared to make and enjoy these lovely tiramisu dessert cups.
FAQs
What can be used instead of ladyfingers in tiramisu?
If you can’t find ladyfingers (or simply prefer a different texture), you can use sponge cake, vanilla wafers, or even shortbread cookies. Just make sure whatever you choose won’t fall apart too quickly when dipped in coffee.
How long do Costco tiramisu cups last once opened?
If you buy a Costco tiramisu cup, it typically lasts around 2–3 days in the refrigerator after opening, provided you keep it well-sealed. Always check the packaging for specific guidelines and any printed expiration dates.
Is tiramisu healthy?
Tiramisu is an indulgent dessert made with mascarpone, sugar, and biscuits. While it’s not exactly a “health food,” enjoying it in moderation can fit into most balanced diets. If you’re watching calories or sugar, you can use reduced-fat mascarpone, less sugar, or smaller portions.
Can you freeze tiramisu cups for later?
Yes. You can freeze tiramisu cups recipe portions by wrapping each serving in plastic wrap and a layer of foil. Allow it to defrost in the refrigerator overnight to achieve the ideal texture. Keep in mind, freezing can slightly alter the consistency of the cream.
Is tiramisu better the longer it sits?
Generally, tiramisu’s flavors meld and intensify after a day in the fridge. Many chefs recommend chilling it at least 6–8 hours or overnight for the best taste. However, be mindful that after around 3 days, the dessert may start losing its fresh flavor and texture.
What not to do when making tiramisu?
Avoid over-soaking the ladyfingers; a quick dip on each side in cooled coffee is enough. Also, don’t skimp on the chill time—rushing the set time can result in a runny texture. Finally, refrain from over-mixing the cream and mascarpone, as this can break the mixture and create lumps.
Conclusion
There’s no denying the melt-in-your-mouth magic of tiramisu cups—and it’s even sweeter when you realize how easy they are to prepare at home. Whether you’re sharing them at a holiday party or spoiling yourself after dinner, these individual treats bring a little bit of café elegance into your kitchen. We’d love to hear how your tiramisu cups turn out, so feel free to share your experience or any creative twists you’ve added!